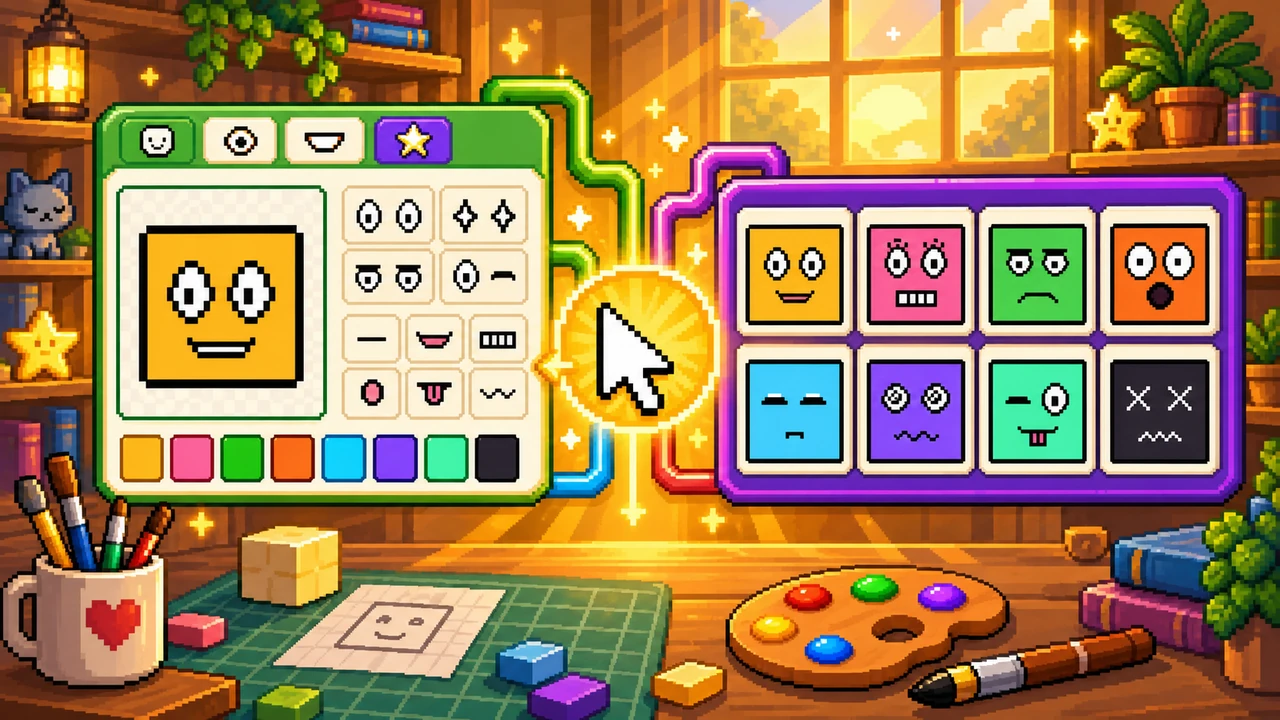
A pixel cube face maker turns a few chunky marks into a readable little character. Pixel Game’s Pixel Cube Face keeps the idea deliberately small: choose the square Face, swap Eyes and Mouth, then recolor the result. The finished PNG can become a pixel avatar, a cube-face logo, an emoji-style sticker, or a quick visual note for a game idea.
It runs in your browser, with no account and no upload. That makes it useful when you need a playful, editable icon with a clear job, rather than a portrait or a full sprite. The goal is not to make one “perfect” face; it is to make a face that communicates the right mood at the place where it will be seen.
Start with the result you need
A cube face is strongest when it has one clear purpose. Decide that purpose before you start swapping parts.
- Profile avatar — make a friendly identity that remains recognizable after Discord, a game launcher, or a social platform crops it into a circle. Use centered round, wink, or lash eyes and leave breathing room around the edges.
- Reaction icon or sticker — build a small set that communicates status in a glance: Sunny for agreement, Sky for tired, Lime for frustration, Tangerine for surprise, and Mint for a joke. Keeping the same outline color makes the set feel connected.
- Game prototype marker — give NPCs, factions, or puzzle states quick visual identities. A color plus an expression is enough to distinguish “friendly,” “danger,” “sleeping,” or “defeated” before you have final character art.
- Cube-face logo — make a compact mark for a server, event, classroom group, or game-jam project. A simple eye pair and one or two colors reproduce more reliably than a detailed illustration.
- Pixel-art exercise — limit yourself to one face color and one eye pair, then make several moods with mouth changes. It shows how much meaning a few pixels can carry.
Those uses lead to different design choices. An avatar needs a neutral, inviting expression. A reaction set needs contrast between moods. A game marker needs the most obvious color and silhouette first. A logo needs restraint so it survives a very small display size.
What you can change to shape the result
The tool divides a face into three editable layers:
- Face sets the square base and its color.
- Eyes supply the strongest part of the expression: round, sleepy, angry, spiral, wink, X eyes, and more.
- Mouth changes the mood with a smile, grin, frown, small O, tongue, or zigzag.
Because each layer is separate, you can keep a favorite eye pair and test several mouths, or make the same expression read differently with a new face color. This gives you a repeatable visual language: the same eyes can identify a character, while mouth and color show how that character feels today. The results use a compact palette and whole-pixel scaling, so they remain clear at small sizes.
How to make a pixel cube face
Open Pixel Cube Face. The left panel is where you preview, randomize, choose an export size, download, and share. The right panel is where you choose the active Face, Eyes, or Mouth layer and edit it.
Follow this quick first pass:
- Start with the default Sunny face, press Randomize, or load one of the preset cards below the editor.
- Select Eyes, then click an eye tile. The highlighted tile is the eye pair on the preview.
- Select Mouth and choose a mouth that fits the eyes.
- Return to Face and choose a square base. Select a color swatch, use the color picker, or type a hex value.
- Use Size to choose 128, 256, or 512 pixels for the next export.
- Select Download PNG to save the finished face. Use Share when you want an editable link instead.
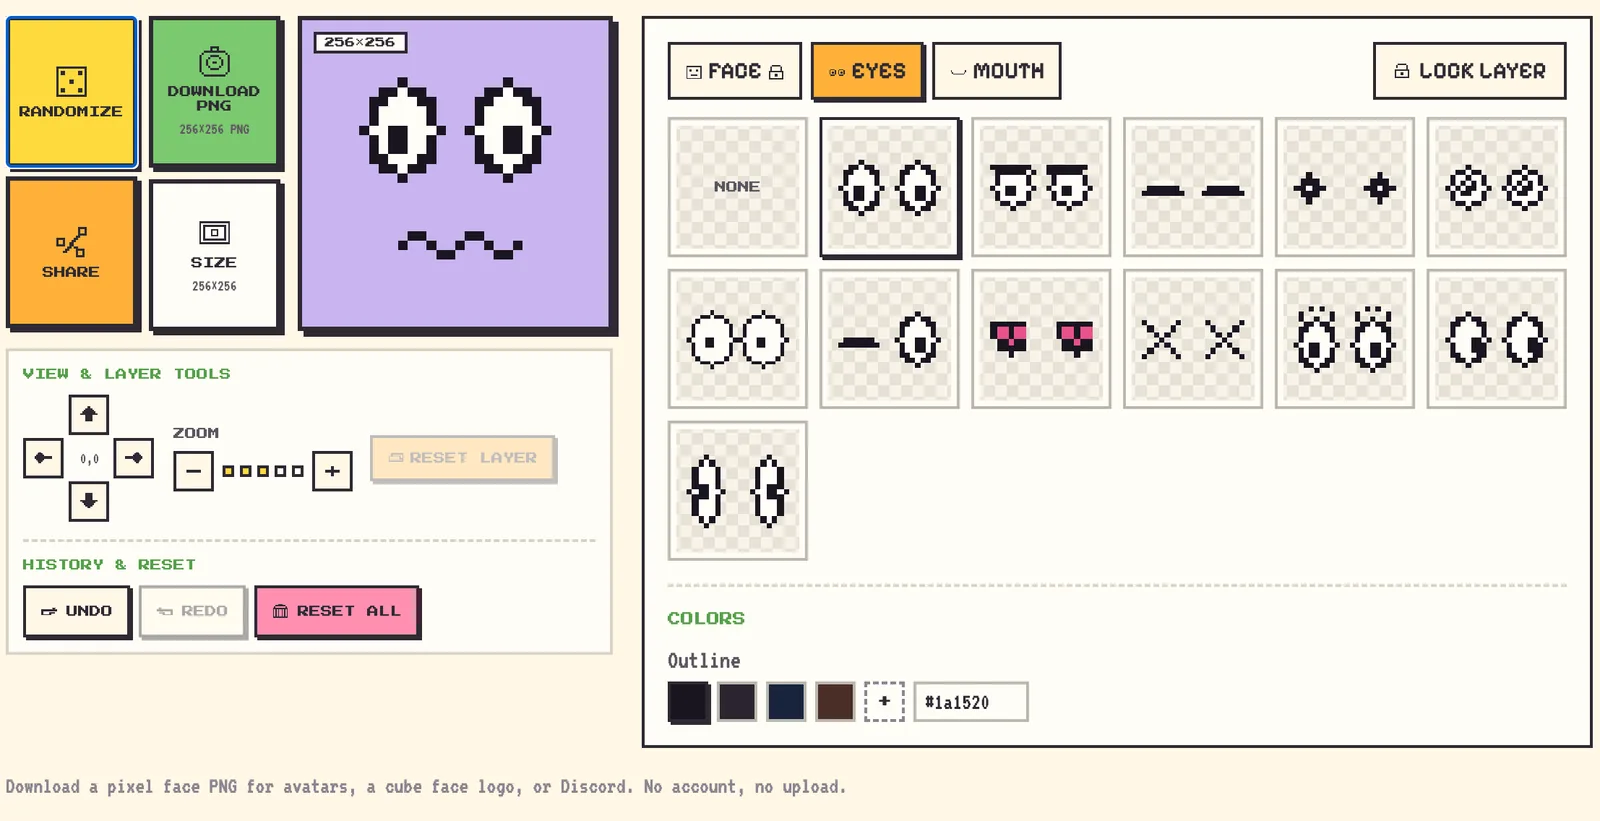
The editor separates preview and export controls on the left from Face, Eyes, and Mouth choices on the right.
Use the controls to get a specific result
RANDOMIZE
Randomize is the fastest way to find combinations you would not have selected by hand. It creates a new mix from every layer that is not locked. It can change the Face, Eyes, and Mouth choices. When Face is unlocked, it can also select a new face color; the outline color stays as you set it. Any position or zoom adjustment on a randomized, unlocked layer returns to its default, so the new part starts centered at 100% scale.
Use it in two ways:
- Press it with no locked layers when you want a complete surprise.
- Lock the part you like first, then press it to explore only the remaining parts. For example, lock a wink in Eyes, then roll new mouths and face colors around it.
LOCK LAYER
Lock Layer turns random exploration into controlled variation. It protects the layer selected in the right-hand tabs. Choose Face, Eyes, or Mouth, then press Lock Layer. A lock icon appears beside that tab while it is protected. Press the button again to unlock it.
The lock has one extra benefit for the Face tab: since face color belongs to the Face layer, locking Face preserves both the square base and its current color during Randomize. Locking Eyes or Mouth only protects that part; Randomize can still change the face color unless Face is locked too.
COLORS
The COLORS area lets the same expression carry different meaning. A yellow face can feel open and sunny; a dark face with a white outline can feel knocked-out or nighttime. The controls change according to the active layer:
- On Face, you can set the Face fill color and the Outline color.
- On Eyes or Mouth, you can set the shared Outline color.
The outline is shared by the cube border, eyes, and mouth. Changing it to navy or brown recolors all of those marks together; it does not change the face fill. Click a prepared swatch for a fast palette choice, use the + color picker for any color, or enter a six-digit hex code such as #5ec4f0. The custom color remains selected even when it is not one of the prepared swatches.
VIEW & LAYER TOOLS
View & Layer Tools are for deliberate personality, rather than a standard centered face. They affect only the active layer. Select Eyes, Mouth, or Face first, then use the arrow buttons to move that layer one pixel at a time. The small coordinate readout shows its horizontal and vertical offset.
Use the − and + zoom buttons to scale the active layer in 25% steps, from 50% through 200%. This is useful for a deliberately oversized eye pair, a slightly raised mouth, or a small expression correction. Reset Layer restores only the active layer's position and scale; it does not replace its chosen face, eyes, mouth, or colors.
UNDO, REDO, AND RESET ALL
Undo moves back one edit; Redo restores an edit you undid. Use them while comparing two close expressions instead of trying to rebuild a good combination. Reset All clears the selected face, eyes, mouth, locks, and layer positioning, leaving a blank canvas with the tool's default colors. It is the right choice when you want to start a new design from scratch.
SIZE AND DOWNLOAD PNG
Size lets one design serve several destinations. It does not redraw or crop the preview; it chooses the dimensions of the next downloaded PNG: 128×128, 256×256, or 512×512. You can switch sizes at any time without losing any layer, color, lock, or position choice.
After choosing a size, press Download PNG. The browser saves the current design as a PNG with whole-pixel scaling, so the edges stay sharp. Downloading does not reset the editor. Use Share if you need a link that opens the same editable face in another browser.
Pick an expression that reads quickly
Start with the eyes. At icon size, they do most of the work. Pair a mouth with them only after the eye shape already suggests the feeling you want.
- Sunny uses round eyes and a small smile for an easy default avatar.
- Berry combines lashes and a toothy grin for a bright, cute look.
- Lime pairs angled eyes with a frown for an annoyed game character.
- Tangerine uses wide eyes and an O mouth for surprise.
- Sky keeps sleepy eyes and a tiny mouth for a calm or tired icon.
- Grape, Mint, and Ink are useful when you want a more exaggerated wild, playful, or knocked-out expression.
The presets are starting points, not fixed designs. Click one below the tool, then change a single layer to make it yours.

Each preset combines a face color, eye style, and mouth style. Load one first when you already know the mood you need.
Export a sharp pixel avatar
Choose the output size before downloading:
- 128×128 for lightweight chat icons and quick mockups.
- 256×256 for most profile images, stickers, and cube-face logos.
- 512×512 when you need extra room for a presentation, post, or later resize.
Every export is a PNG with crisp, enlarged pixels. Keep the face centered if a service applies a round avatar crop. For a larger character with clothes and a body, use Pixel Character Maker instead. If you want a more detailed square portrait, try Square Face Generator.
Four small projects to try
Make a recognizable profile avatar
Pick a color you would use again, such as Sunny, Berry, or Mint. Choose round, side-glance, or wink eyes and a small smile. Leave the face centered and download at 256×256. The result will remain recognizable if an app shows it as a 32-pixel circle. Avoid placing an eye or mouth too close to an edge, since platforms often crop avatars more tightly than expected.
Build a five-reaction sticker set
Start with one Face color and Outline color, then lock Face. Make five versions by changing only Eyes and Mouth: smile, frown, O, sleepy, and tongue. Export each at 512×512 so chat apps and editors can downsize them cleanly. The result is a cohesive set because color and the square base stay consistent while the emotion changes.
Mark states in a game prototype
Use one color family for each state: Sunny for safe, Tangerine for attention, Lime for hostile, Sky for inactive, and Ink for defeated. Keep the layers centered so every marker occupies the same visual footprint. A designer or playtester can then understand a board, HUD mockup, or dialogue outline faster than they could from text labels alone.
Create a tiny project mark
For a cube-face logo, use one bold Face color, a high-contrast Outline, and simple round or dot eyes. Test it at 128×128 before exporting a larger copy. If the expression disappears at that size, simplify it instead of adding detail. The result is a mark that works in a browser tab, group icon, or game-jam thumbnail.
For more browser-based makers, visit Pixel Game Tools. The wider overview is in Pixel Tools on Pixel Game.
FREQUENTLY ASKED
What is a pixel cube face maker?
A pixel cube face maker builds a simple square face from separate face, eye, and mouth layers. It is made for small avatars, cube-face logos, emoji-style icons, and game mockups.
Is Pixel Cube Face free to use?
Yes. Pixel Cube Face is free in the browser. It has no account, no watermark, and no upload step.
Can I download my pixel cube face as a PNG?
Yes. Choose 128, 256, or 512 pixels in the Size panel, then select Download PNG. The tool exports sharp whole-pixel edges.
What does Lock Layer do in Pixel Cube Face?
Lock Layer keeps the active Face, Eyes, or Mouth selection in place when you use Randomize. Locking Face also keeps its color. Use it to explore the rest of an expression without losing the part you like.
Can I share the cube face I made?
Yes. Share creates a link containing the current cube face settings, so another person can open the same design and continue editing it.